In this post, we will go through the steps required to setup OmniGeometry together with the ToucOSC -based custom touch interface.
TouchOSC is a cross platform control surface software, which enables you to control OmniGeometry through the MIDI -interface support in version 1.3.11.
This tutorial is written for macOS, but generally the same instructions should work in Windows also.
MIDI Support: long way coming
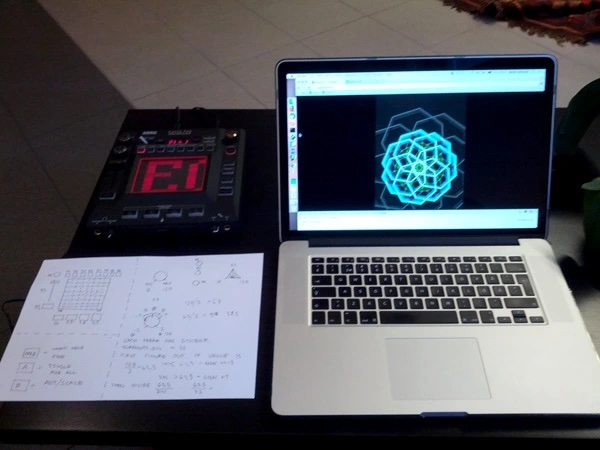
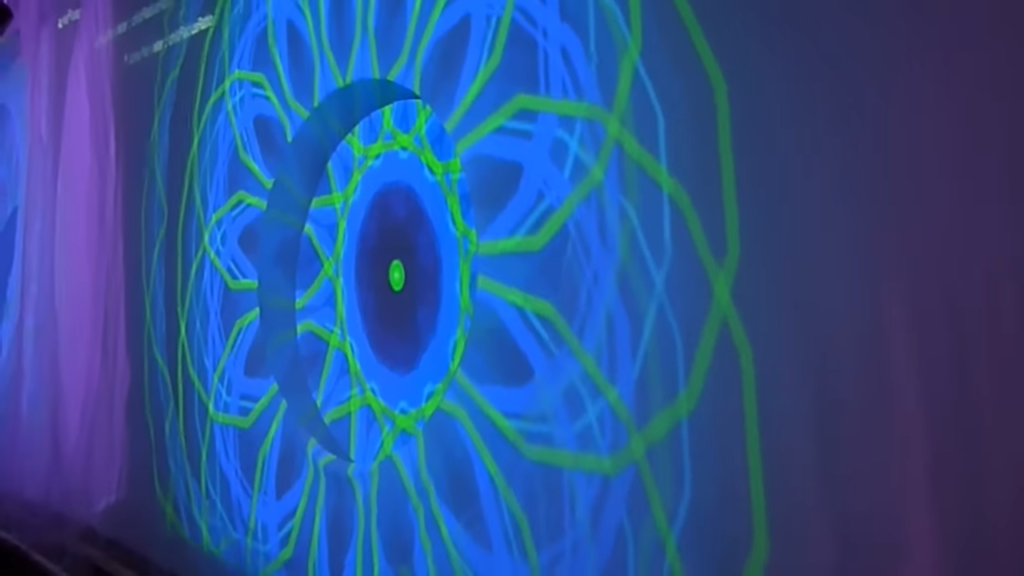
We developed the first very version of the MIDI interface for the Korg KaossPad, which was used at a live installation at Kosmos Festival 2015, where people could adjust digital mandalas projected onto a huge canvas next to a chill out stage:
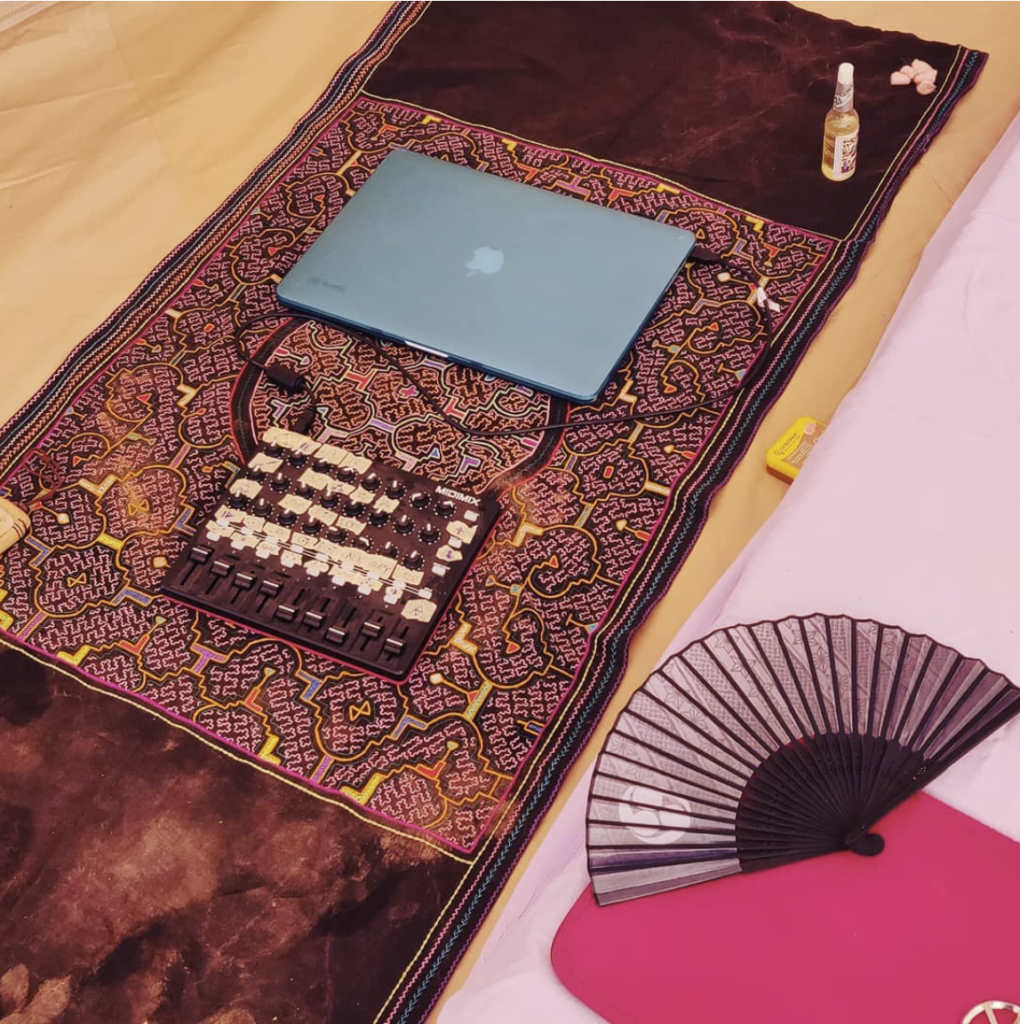
Then later the code was adapted for the Akai MidiMix mixer, adjusting parameter by turning knobs and sliding sliders:
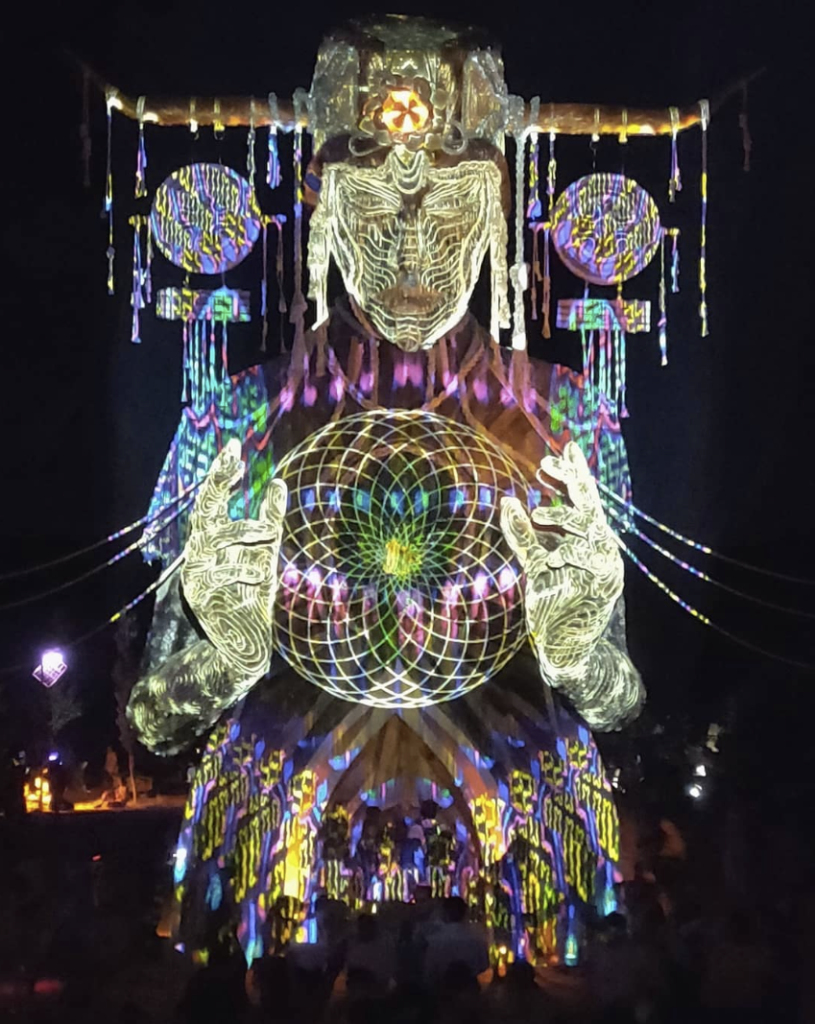
This Sakari used at Boom 2018 to project onto the huge wooden shaman statue there
together with @WayneVisuals:
OmniGeometry Touch Interface
Now the most recent version is a totally custom built touch interface, that can be run on the iPad or other mobile device, running on the TouchOSC software.
This touch interface now released with 1.3.11 enables you to control your digital mandalas with the touch of your fingertips, literally making them dance to your fingers movements 🧙♂️✨
The TouchOSC UI allows natural controlling of your OmniGeometry digital mandalas with the touch of your fingertip. This enables much more precise, natural and fine tuned adjustment than with just the keyboard and mouse.
The TouchOSC interface was first designed and built to enable realtime live projections of digital mandalas at music gigs by Sakari, creator of OmniGeometry.
The results can be very mesmerizing, beautiful, captivating, and unique, as you are creating the visuals realtime to the rhythm and flow of the music, and the vibe of the audience and place.
We are happy to share this with you now, as the just released 1.3.11 version of OmniGeometry has MIDI -support built in.
Requirements
Before you get started, you will need to download the following items:
TouchOSC requires a purchased license to use, but it's not expensive (24 euros in EU) and well worth the price if you are interested in live projecting your mandalas or just want to feel how magical it feels to have your fingertips making the mandalas dance 🙂
The license allows you to run TouchOSC on your desktop and iOS or Android devices.
On Apple devices and iOS, you can connect through an USB -cable, which is recommended.
Both iOS and Android support connection through WiFI also, but it has a small delay and is not really realtime, and might be unusable in congested networks. We recommend an iOS device, the USB -connection has no delay or lag.
Download and install all of these, and let's get to setting up the software to work together.
Install and run Protokol
To see if your MIDI -setup is working properly, it is good to install and run Protokol, which helps you see live any MIDI -messages coming to your computer. Protokol is not required, but it is very helpful in debugging if the connection is working.
The installation is simple, no setup is required, just run the program.
Install and run TouchOSC Bridge
TouchOSC bridge is a free utility that let's you send and receive MIDI -messages from other devices to your computer. The bridge enables your mobile device to communicate with OmniGeometry running on the computer.
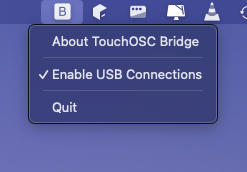
Installation is simple, just make sure you have enabled the option 'Enable USB connections'. through the top menu icon.
Leave the Bridge running in the background, it does not require any other configuration.
Install and setup TouchOSC for your computer
Download and install TouchOSC on your desktop.
We will first do the setup by running TouchOSC on the same computer as OmniGeometry, it is easier to test and make sure everything works like this. Once that works, the same steps can be followed to setup TouchOSC on your mobile device.
Setting up TouchOSC on the desktop
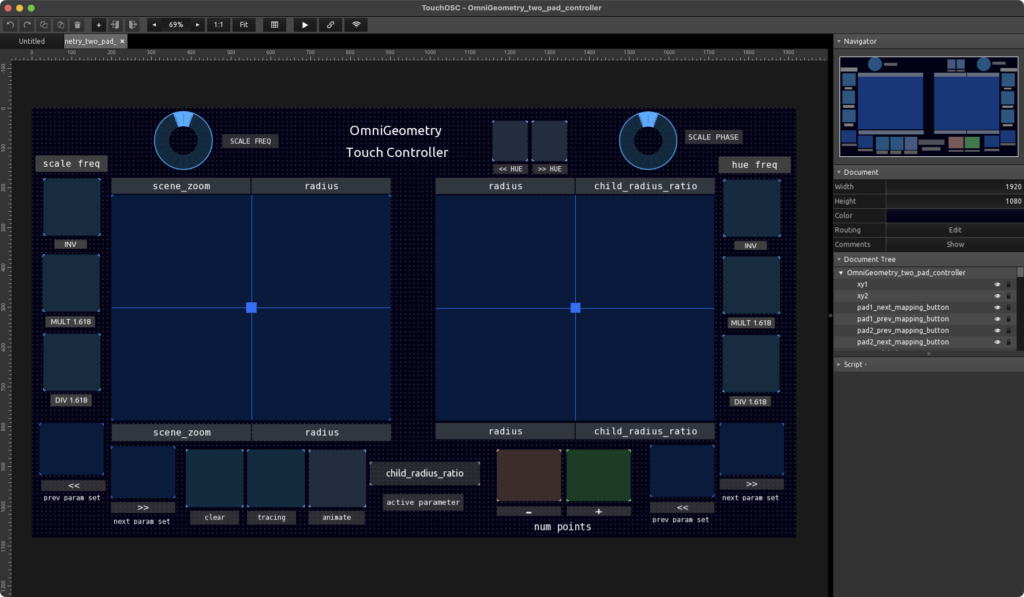
Now that you have TouchOSC installed, you can open the previously downloaded OmniGeometry touch UI template. After opening, your window should now look like this:
Configure the connection to the bridge
For the controller to work, we must configure the connections in TouchOSC.
You just need to configure the Bridge connection and setup the MIDI ports to the Bridge connection, here is a video how to do that:
Here I have Protokol running on the right, once the connection is setup and you go to play mode (Ctrl+E to exit), you should see the MIDI messages logged inside Protokol.
This tells that the connection is working properly!
Start OmniGeometry and enable MIDI interface
All that remains is starting up OmniGeometry, and enabling the menu item "Options/Enable MIDI interface".
OmniGeometry will automatically connect to the TouchOSC Bridge when the MIDI -interface is enabled. Here I am running TouchOSC in a window side-by-side, and adjusting the parameters.
Setting up on your tablet or mobile device
The basic setup with your tablet or mobile device is this:
Copying the TouchOSC template to your iOS device
Here is how to copy the TouchOSC template to your iOS device once it is connected via USB and TouchOSC has been installed:
Just drag and drop the .tosc file in Finder to the Files section, and inside the TouchOSC folder.
Configuring the connection on iPad
Here is a video how to open the TouchOSC template in TouchOSC and configure the connection.
Here we are connecting via USB to the bridge running on my personal computer (Viper). You can connect via wifi too if your computer and the device is connected to the same network.
Entering play mode in TouchOSC
After you have the connection setup, you can toggle play mode with Command+E or Ctrl+E.
And that's it, you should be now able to control your OmniGeometry devices on with your mobile device 🙂
Troubleshooting
If you have any questions how to set this up, or trouble, please join our Telegram channel, you can find the link in the Members Area.
Other MIDI device support
Technically OmniGeometry supports many kinds of MIDI inputs under the hood, and could be configured to work with MIDI -hardware like mixer boards or controllers, but we don't have any tool yet to configure the MIDI interface.
It is possible to do through the midi configuration file, but not easy or even really possible without having a tool to do that. We might write that tool later, to make connecting any MIDI device possible to OmniGeometry and being able to map any input to any parameter.
So that will perhaps come later, now only thing officially supported is the provided TouchOSC template. Will continue working with the community to see how we can improve this.

